How to download Visual Studio Code
Brief introduction into Microsoft Visual Studio Code
In 2015 Microsoft start announced new editor for coding in different languages across all most know operating systems like Microsoft Windows, Apple iOS or Linux.
More or less it was the same time when Microsoft start growing its cloud environment. They understood that the world was mostly changed by other players like Amazon, Apple and open source communities.
Competition has become an impulse to run something for free that is very easy to install and the most importantly pluginable. And they build new code editor that is extended by big programmer’s community.
Official github website https://github.com/microsoft/vscode says that there are:
- 1098 contributors engaged into the development
- 61590 commits done from the beginning of the project
- 382 branches were created by the community
- 147 releases was announced
The last number is quite interesting because it means that every 2-3 weeks we have new version of visual studio code with some new updates and improvements.
All the history, the speed of updates and the main contributor into the project Microsoft give us very stable and free programming environment. This is why you need to have it in your programming toolbox and today I will guide you through the installation process.
Visual Studio Code download
In order to download Visual Studio Code go to your favorite search engine and type in search field phrase “visual studio code download”. In google.com you should see at first row such result:
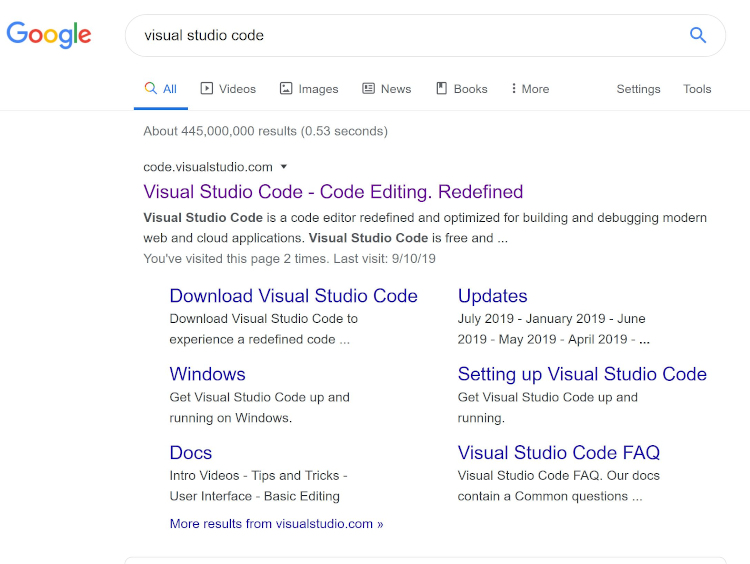
Click the link with title Download Visual Studio Code. And you should see the download page with some possible to select options.
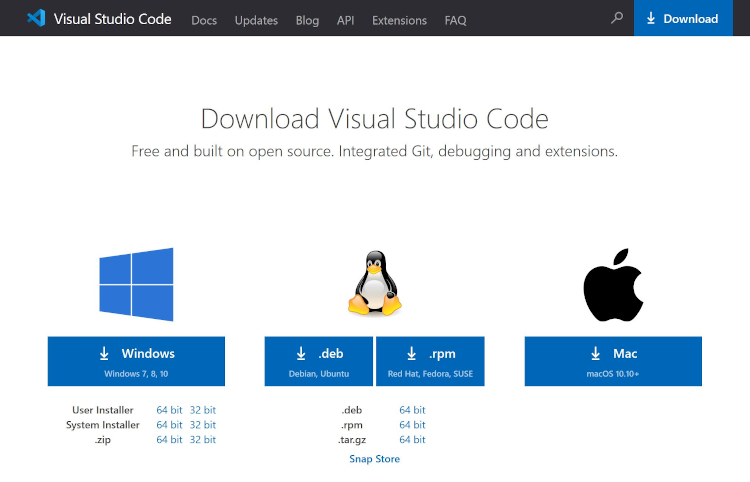
I select Windows option beacuse I use the operating system as my default operating system. You can choose what you want it is up to you.
Click any option and this should start downloading process.
Installing Visual Studio Code
When you have installation file for Visual Studio Code we can start the installation process. Run the file that in my case has the name VSCodeUserSetup-x64-1.42.1.exe and this should open first installation window that will ask you about default language.

Select English and click OK button. Next window will inform us about accepting license agreement. Click option I accept the agreement.
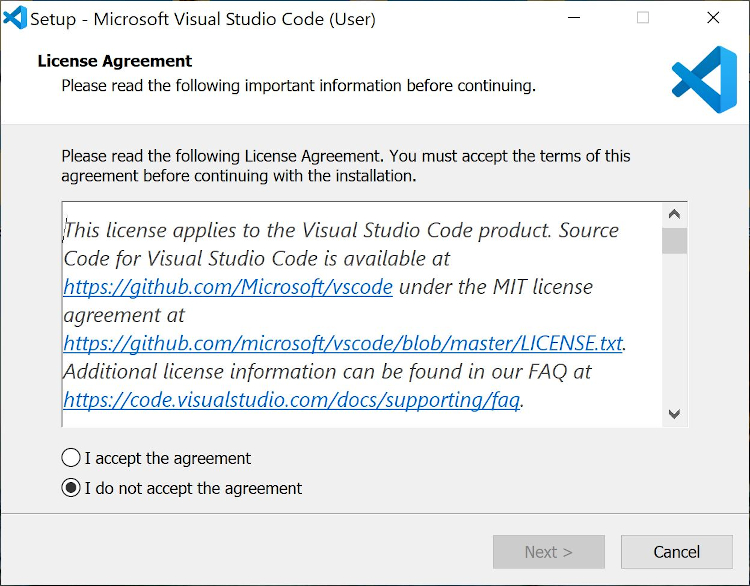
This will activate the button Next and enables us to go to the next step that requires from us to select default path where we install the program.

If you don’t have any special places where all such software you generally install than you can again leave this default path.
Next window will ask you about default name for Visual Studio Code. You don’t need to change here anything.

Default name for the program is OK.
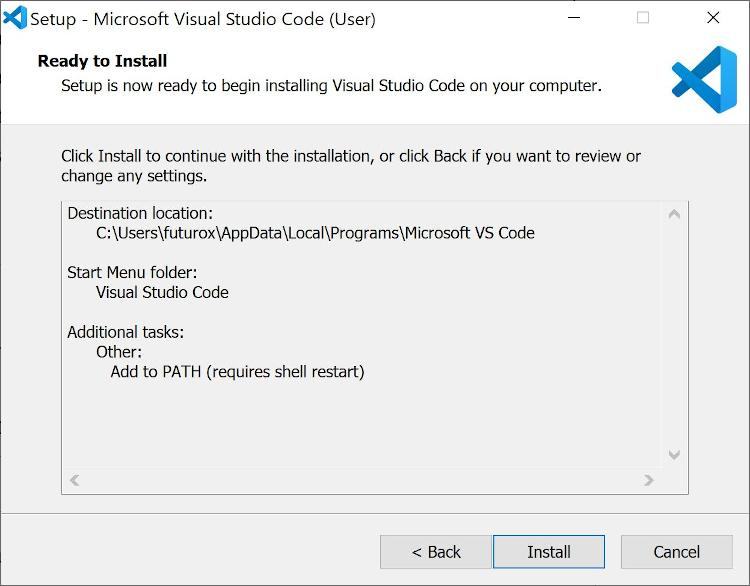
Next window is very important. Default option with Path will guarantee you that you will be able to run visual studio code from your shell.

You can check other options if you want like Create a desktop icon or adding Visual Studio Code to Windows Explorer context menu.
Now we are ready to install our Visual Studio Code:
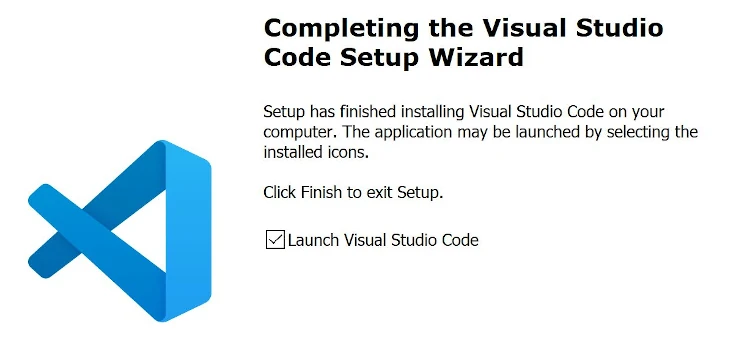
If everything went well you should see the completing window that asks you about launching newly installed software.

You can run Visual Studio Code and start testing all available options inside.
Remember that all programming skills are mostly based on testing, testing and testing different options, approaches and settings in order to achieve final goals.


It’s a pity you don’t have a donate button! I’d without a
doubt donate to this fantastic blog! I suppose for now i’ll settle for
book-marking and adding your RSS feed to my Google account.
I look forward to new updates and will share this blog with my Facebook group.
Chat soon!
Howdy! I just wish to give you a big thumbs up for the excellent info you have here on this post. I am returning to your web site for more soon. Cindie Erl Jeremiah