How to install Ubuntu 18.04 from USB pendrive
Before we start Ubuntu 18.04 installation
This article is entirely devoted to the topic of installing the Ubuntu operating system from USB stick. It is worth to have any distribution of linux on one of your stick. You don’t know time when something will be crashed in your current system and you may need to run a system in emergency state or even reinstall OS.
I assume that you have prepared USB stick with bootable Ubuntu 18.04 on it. If not you can still do it going through my article that describes in details the whole process of preparation such usb pendrive with linux on it.
Starting Ubuntu installation from bootable USB stick
Starting installation process of Ubuntu is very simple. Before you start you need to setup in your BIOS the booting order device in such a way that your USB stick is the first booting device.
When you are ready with the setting you can restart the system and first screen you should see is the screen with option if you want to:
- just use the Ubuntu system without installation
- or install Ubuntu system on your hard drive
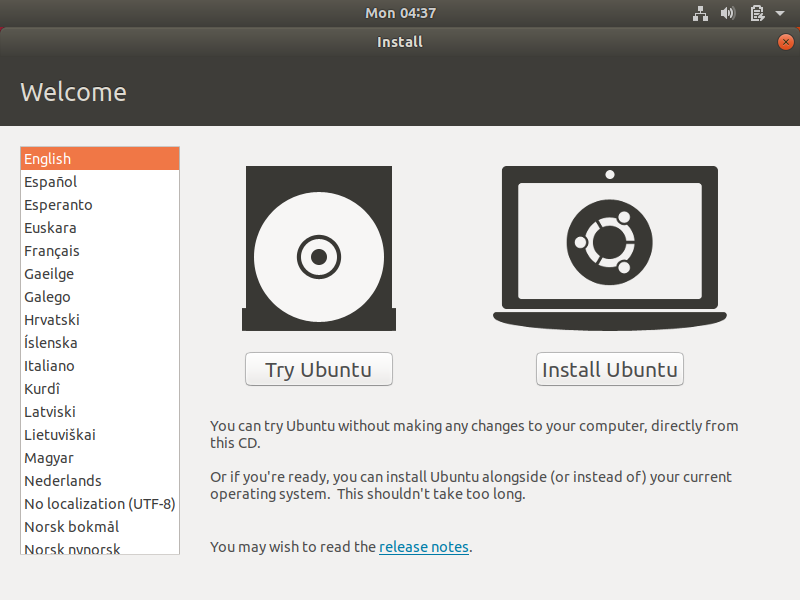
Select option with Install Ubuntu and leave default language English in the left column as most IT oriented solutions are base on the language.
Defining languages in Ubuntu OS
This step is obvious because the only thing we need to set is the keyboard language. Probably you can also leave default language as English.
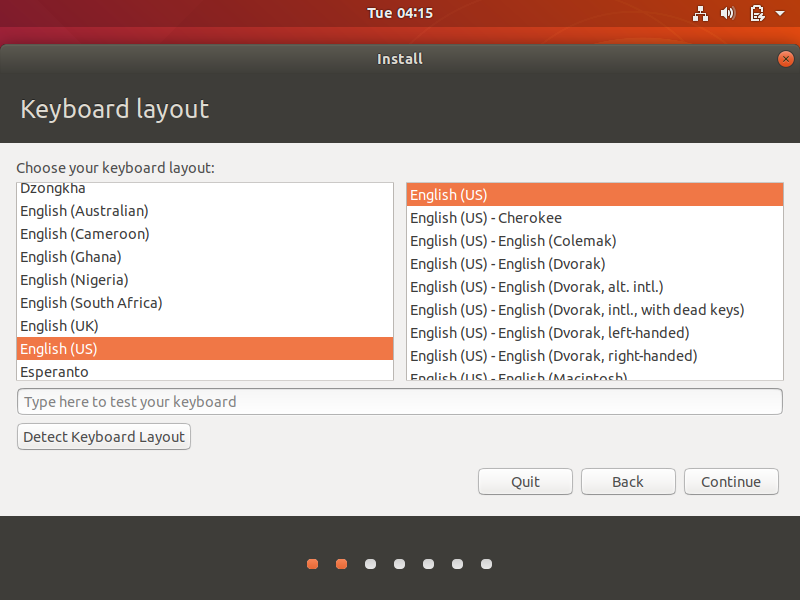
Click Continue button in order to go to the next section of Ubuntu installation. Remember you can stop installation in any moment by click the button Back. You can also go to previous steps using Back.
Updates and other software
This step in Ubuntu installation process is very important because it will ensure that your operating system is updated. Leave default options to allow installation program to download all needed packages into the system.
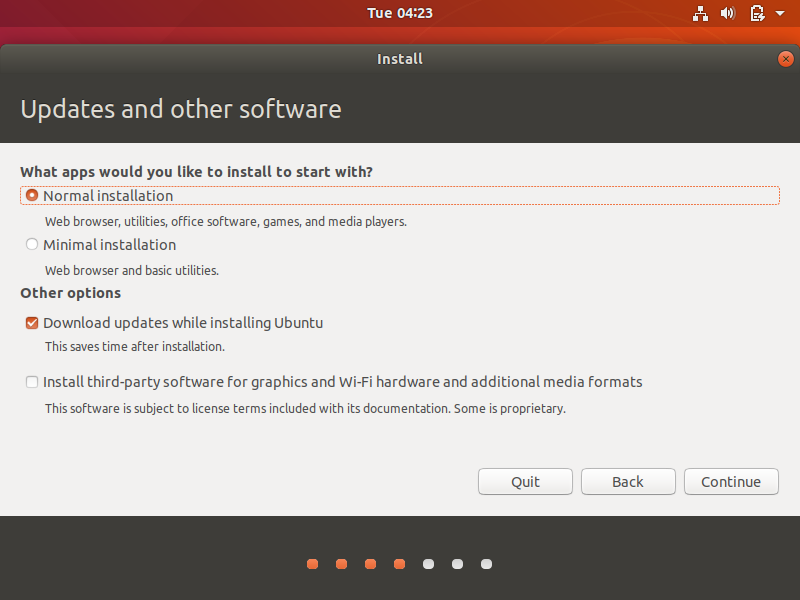
As you can see in Normal installation all standard applications will be installed like:
- web browser
- utillities
- office software
- games
- media players
If you don’t have time to wait until all this packages will be installed you can still choose Minimal Installation and then only most needed packages will be downloaded. You can later install what you want.
Installation type for Ubuntu 18.04
This section is very important you can selected withing different options how to install Ubuntu operating system like below:
- Erase disk and install Ubuntu
- Encrypt the new Ubuntu installation for security
- Use LVM with the new Ubuntu installation
- Something else
As we are installing Ubuntu as a first operating system we will select first option Erase disk and install Ubuntu.
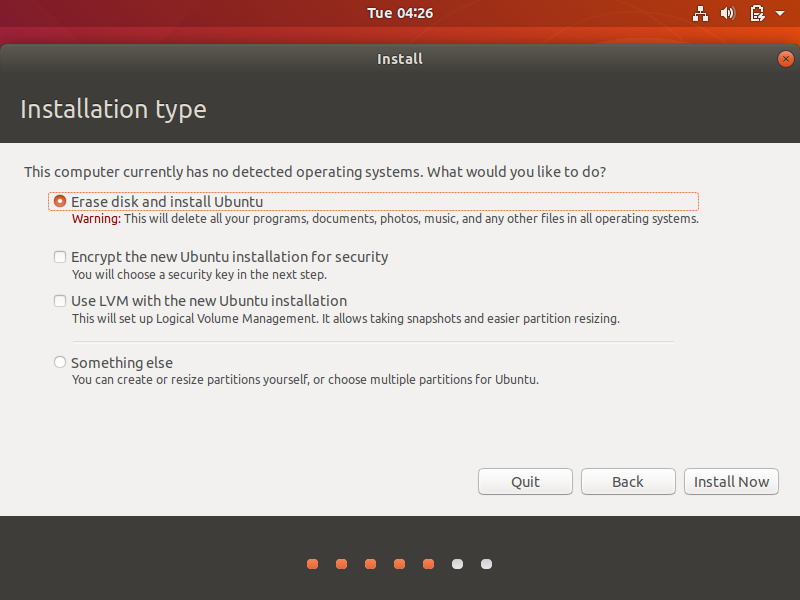
In order to accept our decisions we click Install Now and only two more steps are ahead to finish installation.
Time zone definition
Before installation really starts we should select time zone. Ubuntu installation program displays us very efficiently our current time zone. We can also change it into the correct one.
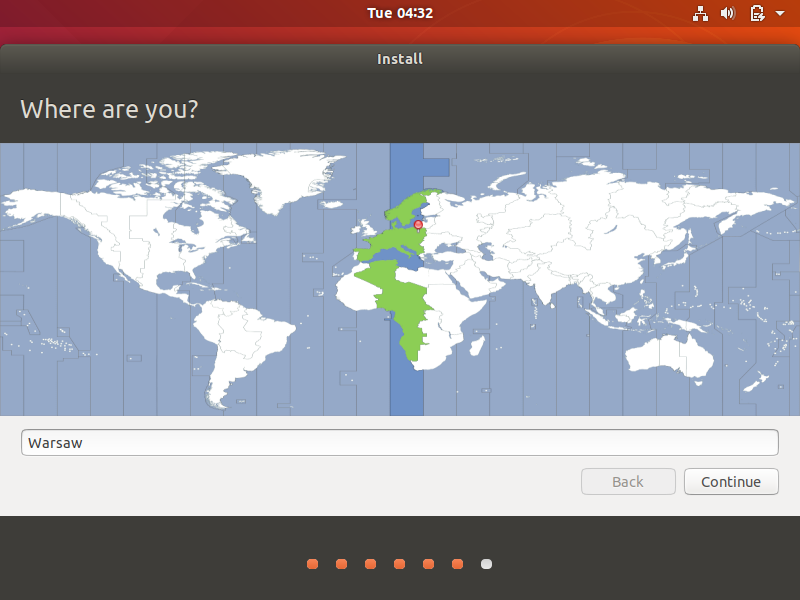
My time zone for Ubuntu operating system is correctly detected as I am living in Poland. Click Continue to go to the last step.
Ubuntu installation – setting account parameters
Probably this step is the most important because it determines how you will log into fresh installed system. Here we type standards information like:
- your machine name
- account name
- password
For security purposes it is also important to leave option Require my password to log in.

It was the last step in the whole installation setup for Ubuntu 18.04. When you finish you should see fresh Ubuntu desktop screen with all default programs installed.
Let’s leave some comments if something is not enough clear for your 🙂