How to build best 3d printer from scratch – HyperCube Evolution
HyperCube Evolution advantages
HyperCube Evolution 3d printer is one of the best 3d printers available in the market for makers. I tested lots of different 3d printers and some main factors are the most important for the quality of final printed parts. These factors are as follow:
- frame stiffness – this will result in smooth surface of the printed component, the profiles used in the printer are 30 mm thick
- bed movement – it is very important to have plate that moves up and down; this way of working gives you more precise printing because you make only one movement every each layer so you don’t have problems with platform inertia
- automatic or semi automatic plate system – with touching build plate sensor you can have the solution with automatic position of your plate and you don’t need think that 3d printer can de-calibrate during printing
All these advantages that HypeCube has will give you more time on printing and save time for setup every printed parts. And believe me setup part might be a nightmare if you have weak 3d printer without correct stiffness and without auto-positioning option.
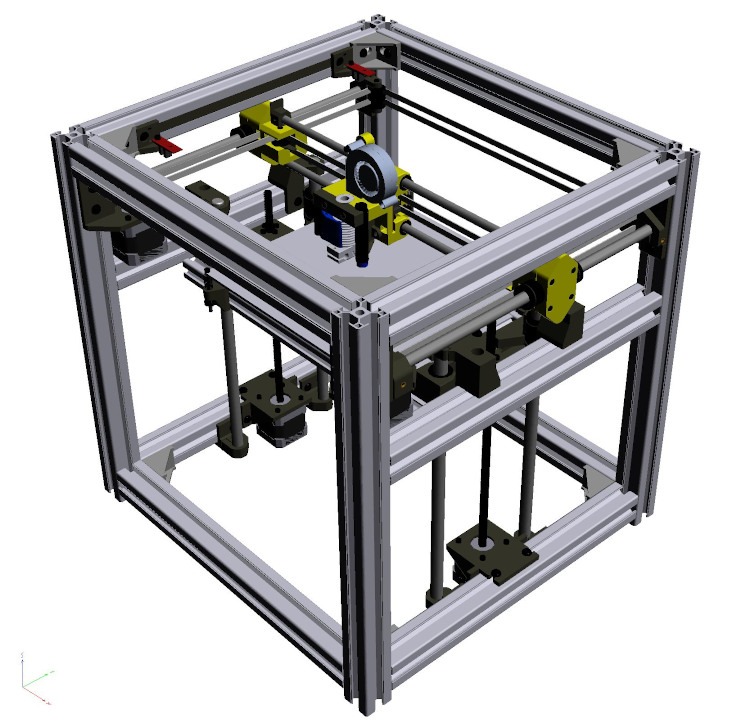
Main mechanical parts to build frame of Hypercube
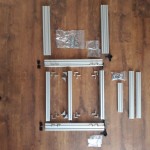
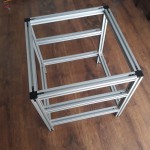
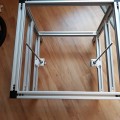
The most important part in the whole construction of 3d printer is a frame. We can build frame from aluminum profiles. In order to build the 3d printer in internal operational size in 300x300x300 mm we need to have such list of pieces:
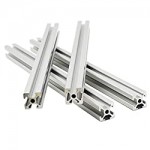
- 4 pcs x 3030 aluminum profile, 42cm – frame X extrusion
- 6 pcs x 3030 aluminum profile, 41cm – frame Y extrusion
- 4 pcs x 3030 aluminum profile, 50cm – frame Z extrusion
- 2 pcs x 2020 aluminum profile, 25,5cm – bed frame X extrusion
- 2 pcs x 2020 aluminum profile, 41,5cm – bed frame Y extrusion
My advice here is to order all the aluminum extrusions cut to size. You will not waste time to do it on your own especially when you don’t have enough place in your house.
Use connectors to build Hypercube construction
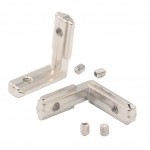
Having all aluminum extrusions for frame we need to be able to connect all parts into one piece. We can use such list of connectors:
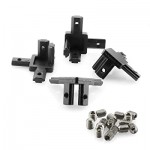
- 24 pcs of t slot l-shape 3030 inner brackets connectors (4 in package)
- 4 pcs of t slot l-shape 2020 inner brackets connectors (8 in package)
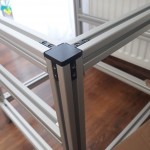
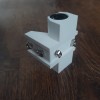
- 4 pcs of t slot 3-way 3030 end corner brackets (4 in package)
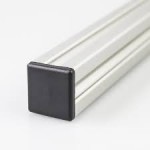
- 4 pcs of aluminum extrusion 3030 end cap cover (40 in package)
I tested all this connectors especially for you so you don’t need to waste time to find optimal list of components.
The only thing that is worth to do is to find in your local market more optimal numbers of every components in packages.
Fasteners for screwing the frame and 3d printed parts
Next part of components that we need to order are two type of fasteners and adequate to them hammer nuts.
In most cases you will get this fasteners packed in 100 pcs. Let’s check it:
- 6 pcs of M6 x 10 mm – Hex Socket Button Head Cap Screws
- 60 pcs of M5 x 10 mm – Hex Socket Button Head Cap Screws
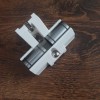
- 28 pcs of hammer nuts M5 for 3030 – M5 T Hummer nuts for 3030
- 32 pcs of hammer nuts M5 for 2020 – M5 T Hummer nuts for 2020
We need them to screw all the aluminum extrusions into one frame and screw all the components into the frame.
Fasteners for screwing details in printed parts
Process of assembly for all the printed parts with motors, shafts, belts is more complicated and time consuming.
Let’s go through all the fasteners:
- 4 pcs x M3x8
- 18 pcs x M3x10
- 10 pcs x M3x16
- 12 pcs x M3x20
- 8 pcs x M3x25
- 4 pcs x M3x30
- 4 pcs x M3 bolt
Definitely number of different M3 screws you need to use is more longer than you used to build the frame. The good thing is that you need only screws M3 (diameter 3 millimeters).
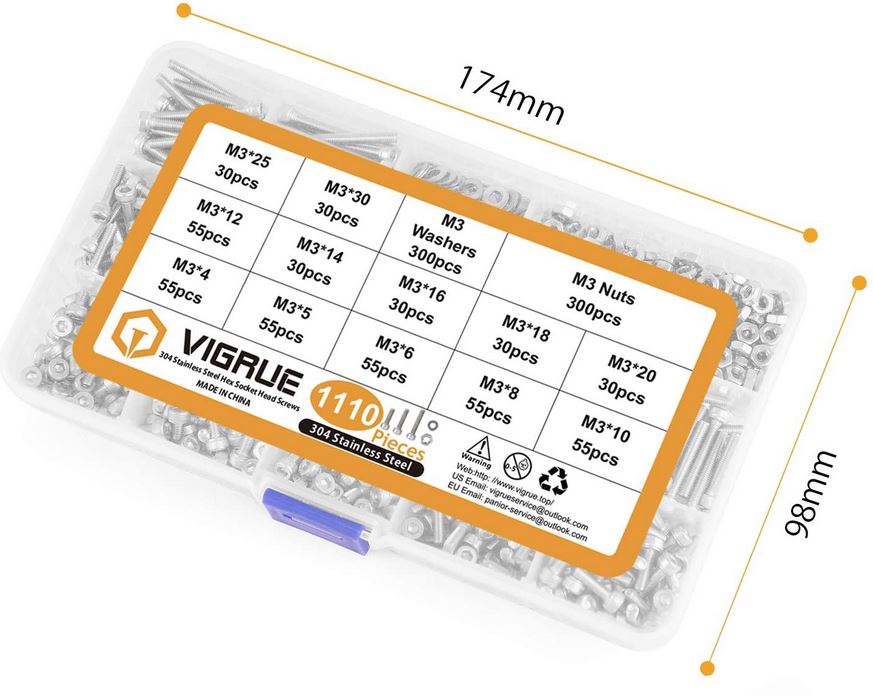
You can get full package of M3 Socket Head Cap Screws from Amazon.
Assembling 3D printer bed frame
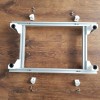
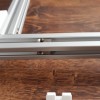
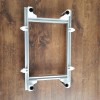
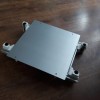
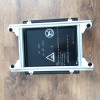
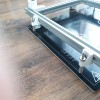
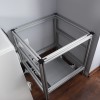
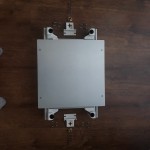
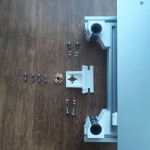
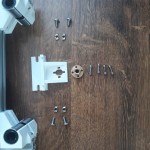
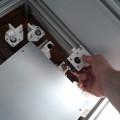
I prepared below the gallery of photos showing important places where you need to screw aluminum extrusions and components with the fasteners:
I tried to present you all mounting places from both sides of the bed frame.
Look especially for the small nuts that has awesome mechanism with spring and ball. The mechanism keeps the nut in one place.
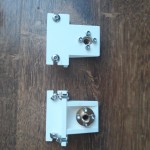
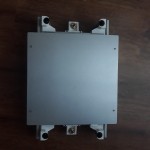
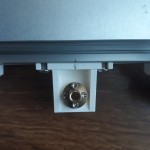
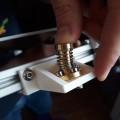
Assembling z nut brackets into bed frame
At this point we start the real work that will bring us closer to the final assembly of the the 3d printer.
Assembling z nut brackets with bed frame is very important step and you need to do it very precisely.
In this stage you should have:
- 1 pcs of MK2a beated bed in size 300×300 milimeters
- 4 pcs of LM10UU 10mm Linear Ball Bearings
The 3d printed parts need to fit properly with both bed frame and main screws that will allow us to move along Z axis.
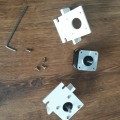
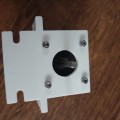
Mounting motors with screws into main frame
In this part of assembling our Hypercube Evolution 3d printer we need to have prepared some additional components like:
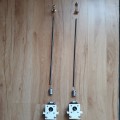
- T8 anti backlash spring loaded nut elimination gap nut + couplings 5mm to 8mm Stepper Motor Coupler set – available here
- 2pcs of Nema17 motors with screws





Great content! Super high-quality! Keep it up! 🙂
Pretty section of content. I just stumbled upon your site and in accession capital to
assert that I acquire actually enjoyed account your blog posts.
Anyway I will be subscribing to your feeds and even I achievement you
access consistently fast.
Wow! This could be one particular of the most helpful blogs We have ever arrive across on this subject. Actually Wonderful. I’m also an expert in this topic therefore I can understand your effort.
We’re a group of volunteers and starting a new scheme in our community.
Your site provided us with helpful information to work on. You have performed an impressive job and our entire group will likely be grateful to you.
Wow that was odd. I just wrote an very long comment but after I clicked submit my comment didn’t appear. Grrrr… well I’m not writing all that over again. Anyways, just wanted to say fantastic blog!
Hi there mates, how is the whole thing, and what you desire to say about this post, in my view its
in fact awesome in favor of me.
Hi! This is my first visit to your blog! We are a team of
volunteers and starting a new initiative in a community in the
same niche. Your blog provided us beneficial information to work on.
You have done a extraordinary job!
I think this is one of the most significant information for
me. And i’m glad reading your article. But should remark on few general things, The website style is wonderful, the articles is really excellent
: D. Good job, cheers
Very great post. I just stumbled upon your weblog and wanted to say that I have really loved surfing around your weblog posts.
In any case I will be subscribing to your feed and I’m hoping you write again very soon!
I don’t even know how I ended up here, but I thought this
post was good. I don’t know who you are but
definitely you are going to a famous blogger if you are not already ;
) Cheers!
I’m not that much of a internet reader to be honest but your blogs really nice, keep it up!
I’ll go ahead and bookmark your site to come back in the future.
All the best
Thanks for one’s marvelous posting! I seriously enjoyed reading it, you might be a great author.
I will remember to bookmark your blog and may come back
someday. I want to encourage yourself to continue your
great posts, have a nice weekend!
I absolutely love your blog and find a lot of your post’s to be precisely what I’m looking for.
Do you offer guest writers to write content in your case?
I wouldn’t mind producing a post or elaborating on a few of the subjects you write in relation to here.
Again, awesome weblog!
Hi Amos,
sure write me email what you propose.