
How to install PostgreSQL and create first database with pgAdmin
Downloading PostgreSQL
PostgreSQL is one of the most popular SQL relational databases based on open source engine. It is very good alternative for another database engine like MySql. You can go to one of my articles describing creation of mysql database to compare both the engines.
Before we start installing PostgreSQL database engine we need to go to the installation website available under the link: https://www.postgresql.org/download/. Scroll the website into the section Downloads and click the option Windows to start downloading for Windows 10 operating system.
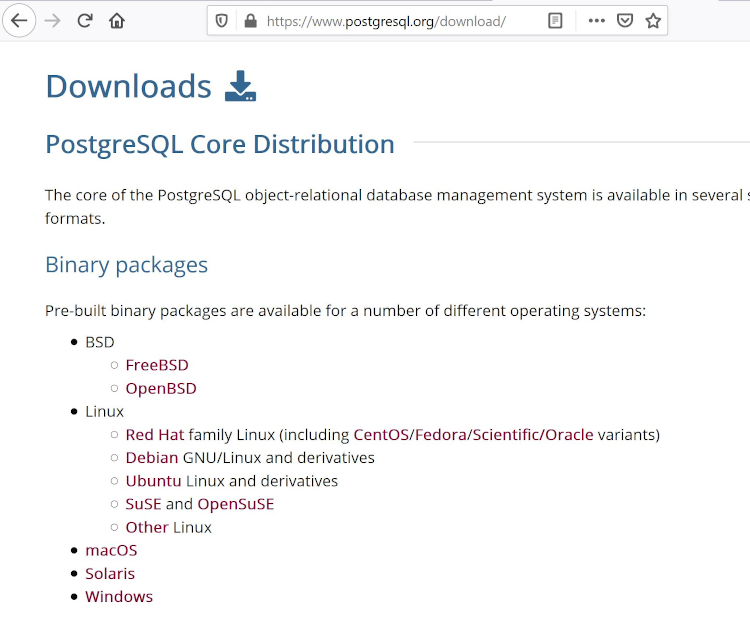
There two subpages before you start downloading PostgreSQL. Just click Download the installer link and this will redirects you to the website with lists of available PostgreSQL versions.

Within all possible to download version let’s choose the newest one
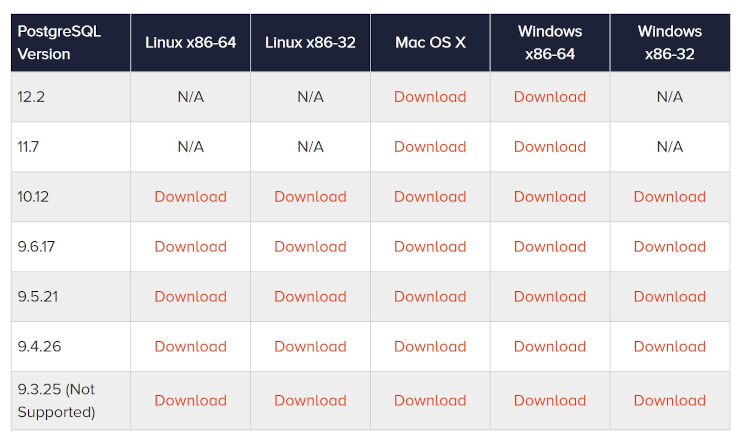
For the moment when I write the article the newest version of PostgreSQL is 12.2 so click Download link for Windows operating system in order to start downloading process.
Running PostgreSQL installation process
PostgreSQL has very clearly designed installator. You can run it clicking into downloaded file from the previous section. You will be invited with the first setup screen like below

Next installation window will ask you about standard setting like the path to the place in your local disk where you would like to install PostgreSQL server

In the window with Components let’s leave all default options and for us the most important option pgAdmin. We will need it to configure our database through web portal.

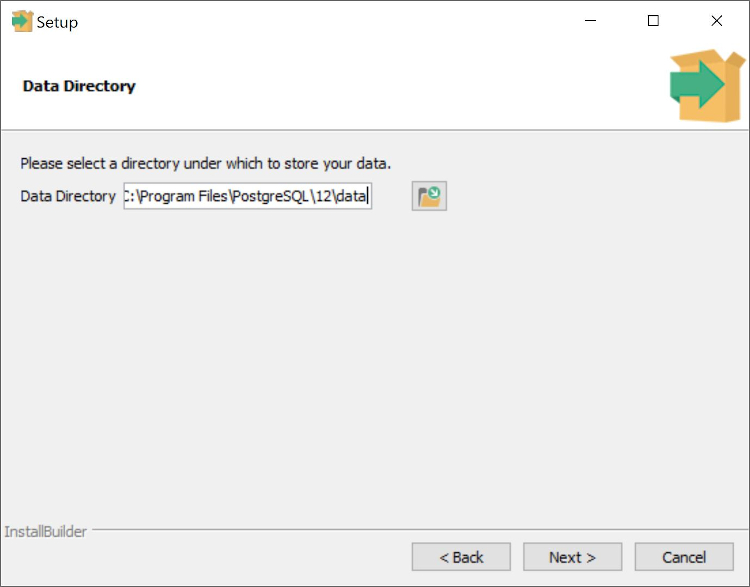
In the window that will appear leave the default path for files that database engine will be producing during normal usage of postgresql server.
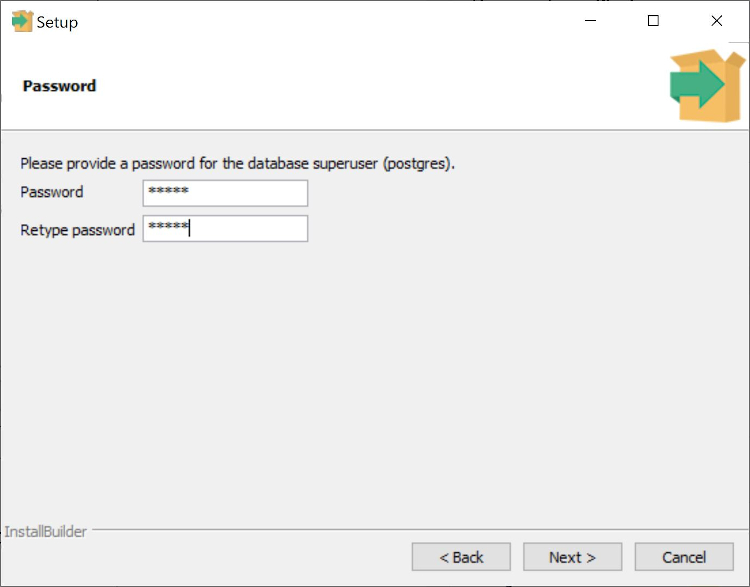
The new screen is super important. You need to type password for super admin user postgres. Type the password you want. I just used standard password for showcase purposes like admin.
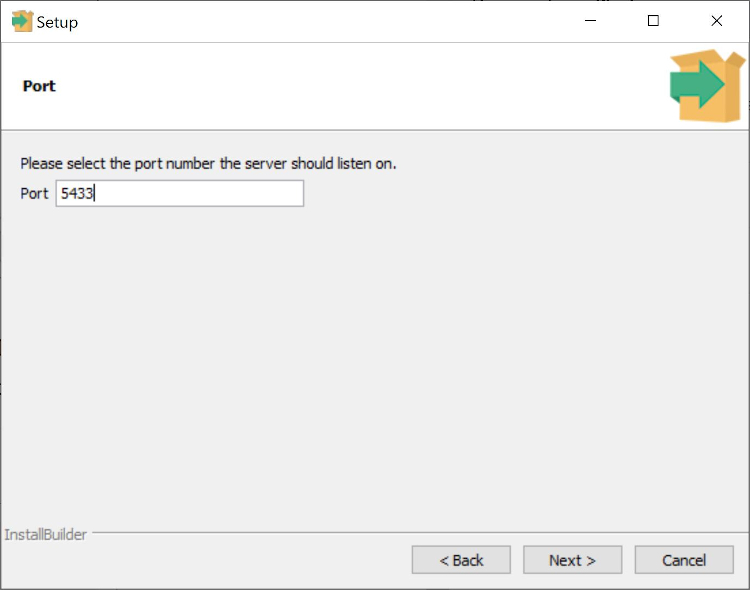
Next screen will setup standard communication port for your database server. If you work in corporate network you need to verify if the port is unlocked and available (not reserved by other applications). In other cases leave default port 5433
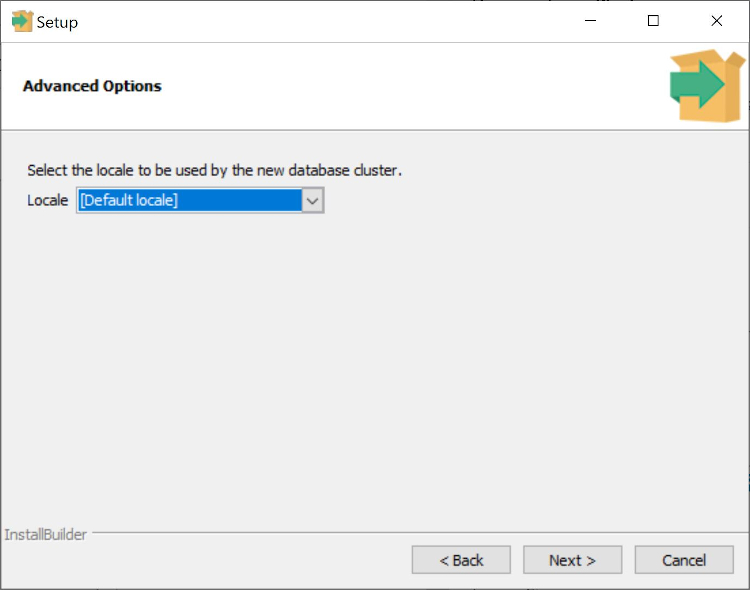
We are nearly finished but view other screen are ahead. Leave default local setting in the current installation window
If you have come to this place, I would like to congratulate you!!!!. We can see summary pre installation screen
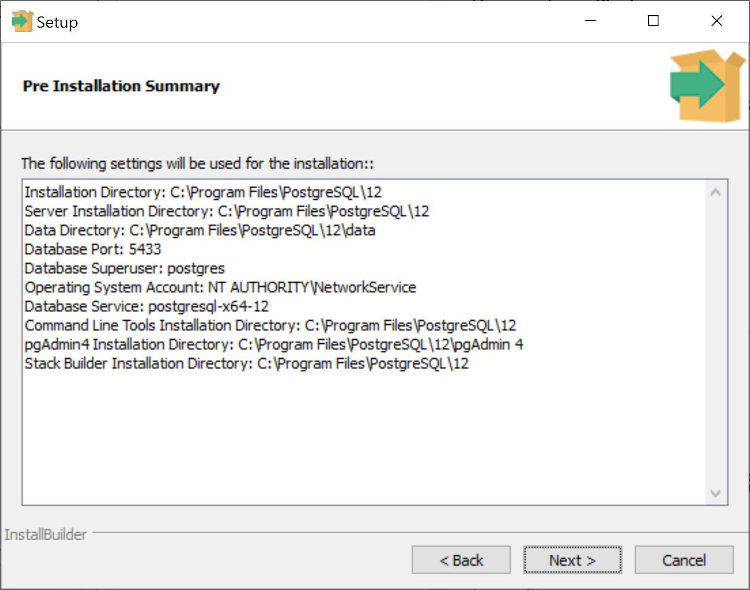
I know what you feel. This is 9th window but probably one of the last ones. Click next to start installation process:
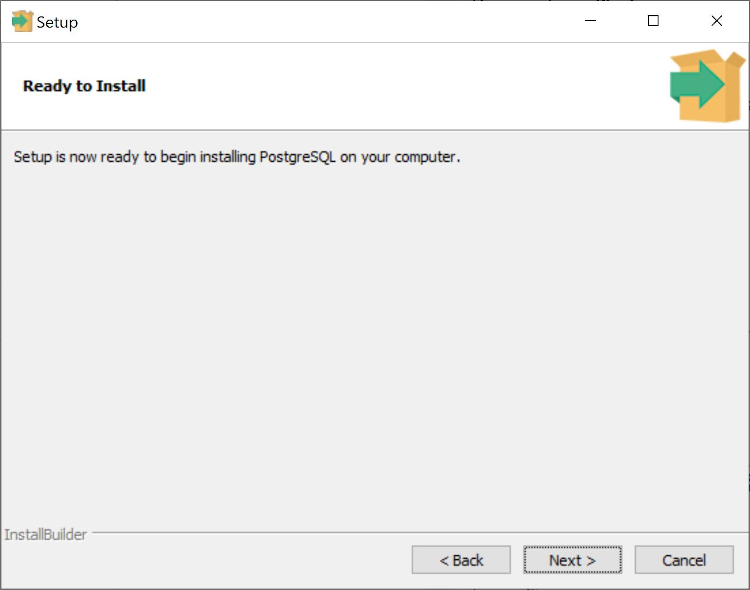
Wow. This is very exciting moment the installation process has started installing all needed files into my operating system. Great!!!
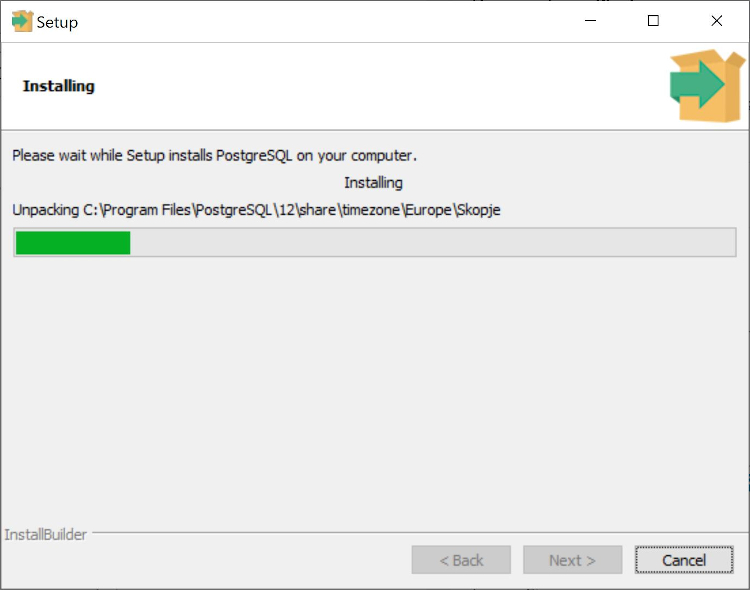
Generally it may take some minutes to finish the installation. All depends on how fast you have your computer and especially how fast drives you have.

When installer will be finished you should see the last window with completing process information. Uncheck the option with Stack Builder as we don’t want to install additional packages for now. Click the button Finish to finish installation and close the last window.
Running pgAdmin database web management panel
We are ready to start the webpanel for postgresql management purposes. We can do this just typing in Window search field the phrase pgAdmin:

At this point is worth to say that depending on your permissions you may need to run the pgAdmin as administrator. If standard running will be impossible or generate any errors than try to run it as administrator.
Every time you run pgAdmin you need to type the master password. When you run pgAdmin at the first time you probably don’t have setup the password.

You can click Reset Master Password option and setup the master password. I did it and my current password is just admin.
When you go through the reseting password process type the new master password and you should see in the left side of webpage the tree with database servers. Click the PostgreSQL 12 element in the tree.
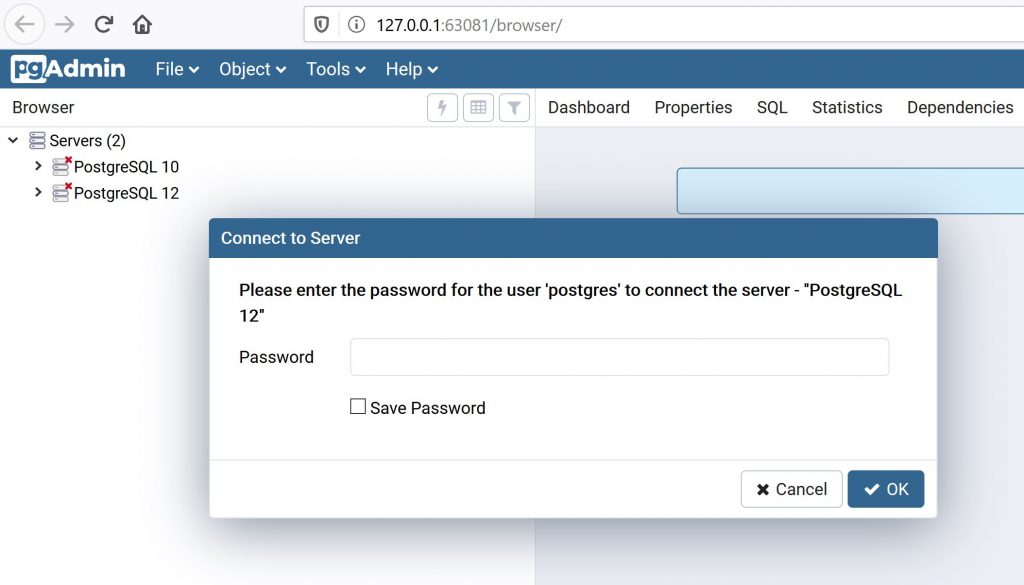
Admin panel will ask you about typing password for postgres user that you created during postgresql installation process. Do you remember the password ? Go back to the screen with password settings :-). Type the password and then you should be able to see empty list of your databases.
Exactly there should be one postgres administrative database

Remember to click the option Save password. This will help us later during next running pgAdmin.
Creating new postgresql database in pgAdmin
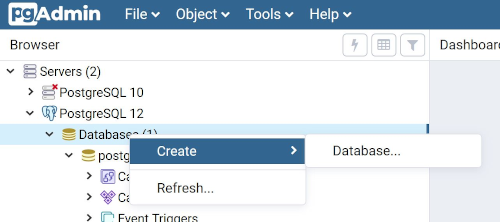
We are ready now to create new postgresql database. Using pgAdmin this task is very easy to do. All you need is to right click in the left tree in Databases -> Create -> Database …
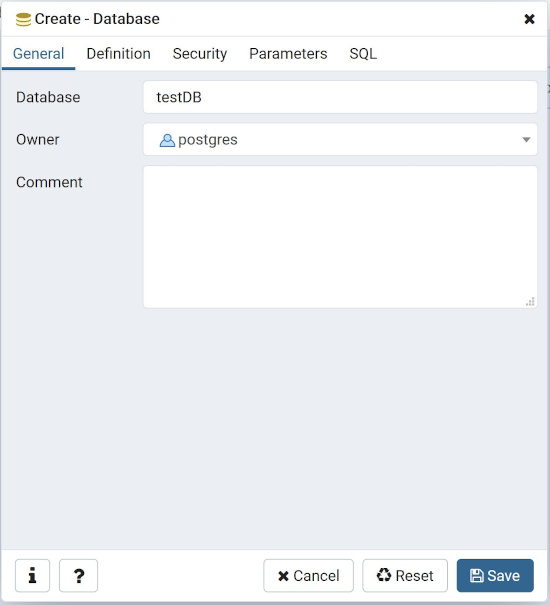
You should see a new popup window Create – Database. In the window you need to type two important things:
- database name in the field Database, let’s type testDB
- select owner of the database, let’s select from the list postgres user (only for tests of course)
Click Save button to accept your decision and new database should be created in the left tree menu
As you can see installation process and later creating new database in PostgreSQL is simple using pgAdmin web panel. There is definitely much more functionality that you can find in pgAdmin. Feel free to test it using different settings and options.


Just wish to say your article is as amazing. The clarity in your post is simply cool and i can assume you are an expert on this subject. Corly Frank Seedman