How to run Laravel project with several commands
Laravel introduction
Laravel is a relatively simple and lightweight PHP framework that every developer should know. Using the framework we can easily create Web APIs and deliver our IT projects faster than ever before. The advantage of the framework is the fact that you can run Laravel project with several commands and install new components within a single second or minutes.
Laravel 5.4 requirements
In this short tutorial we will setup PHP Laravel in version 5.4. The version is the latest one that uses PHP 5.6.4. Later Laravel versions use PHP 7.0 or higher.
Before we start it is important to notice that you have available in your system:
- PHP with version 5.6.4 – use my article about how to install xampp
- MySql database
- Composer – package manager for PHP projects
Installing Laravel framework
In order to start installation process of Laravel we need to know to go to the root folder in our system and type the command like below:
composer create-project laravel/laravel projectnamefolder "5.4.*" --prefer-dist
where <project_name> is the name of the project that we want to create. You also need to know that composer will create the project folder named like project_name
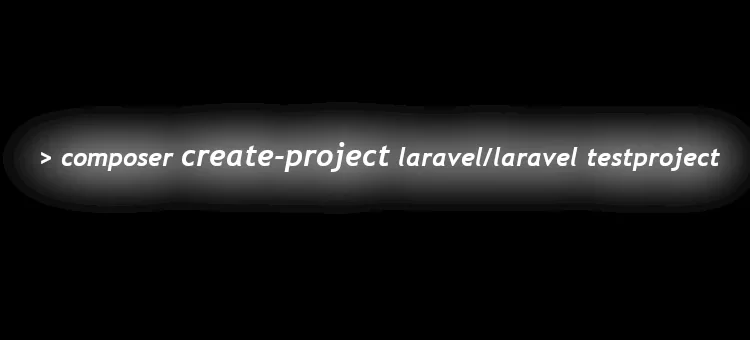
Let’s say that we want to create project with the name testproject so the command will look:
composer create-project laravel/laravel testproject "5.4.*" --prefer-dist
Hit this command into your command line window:
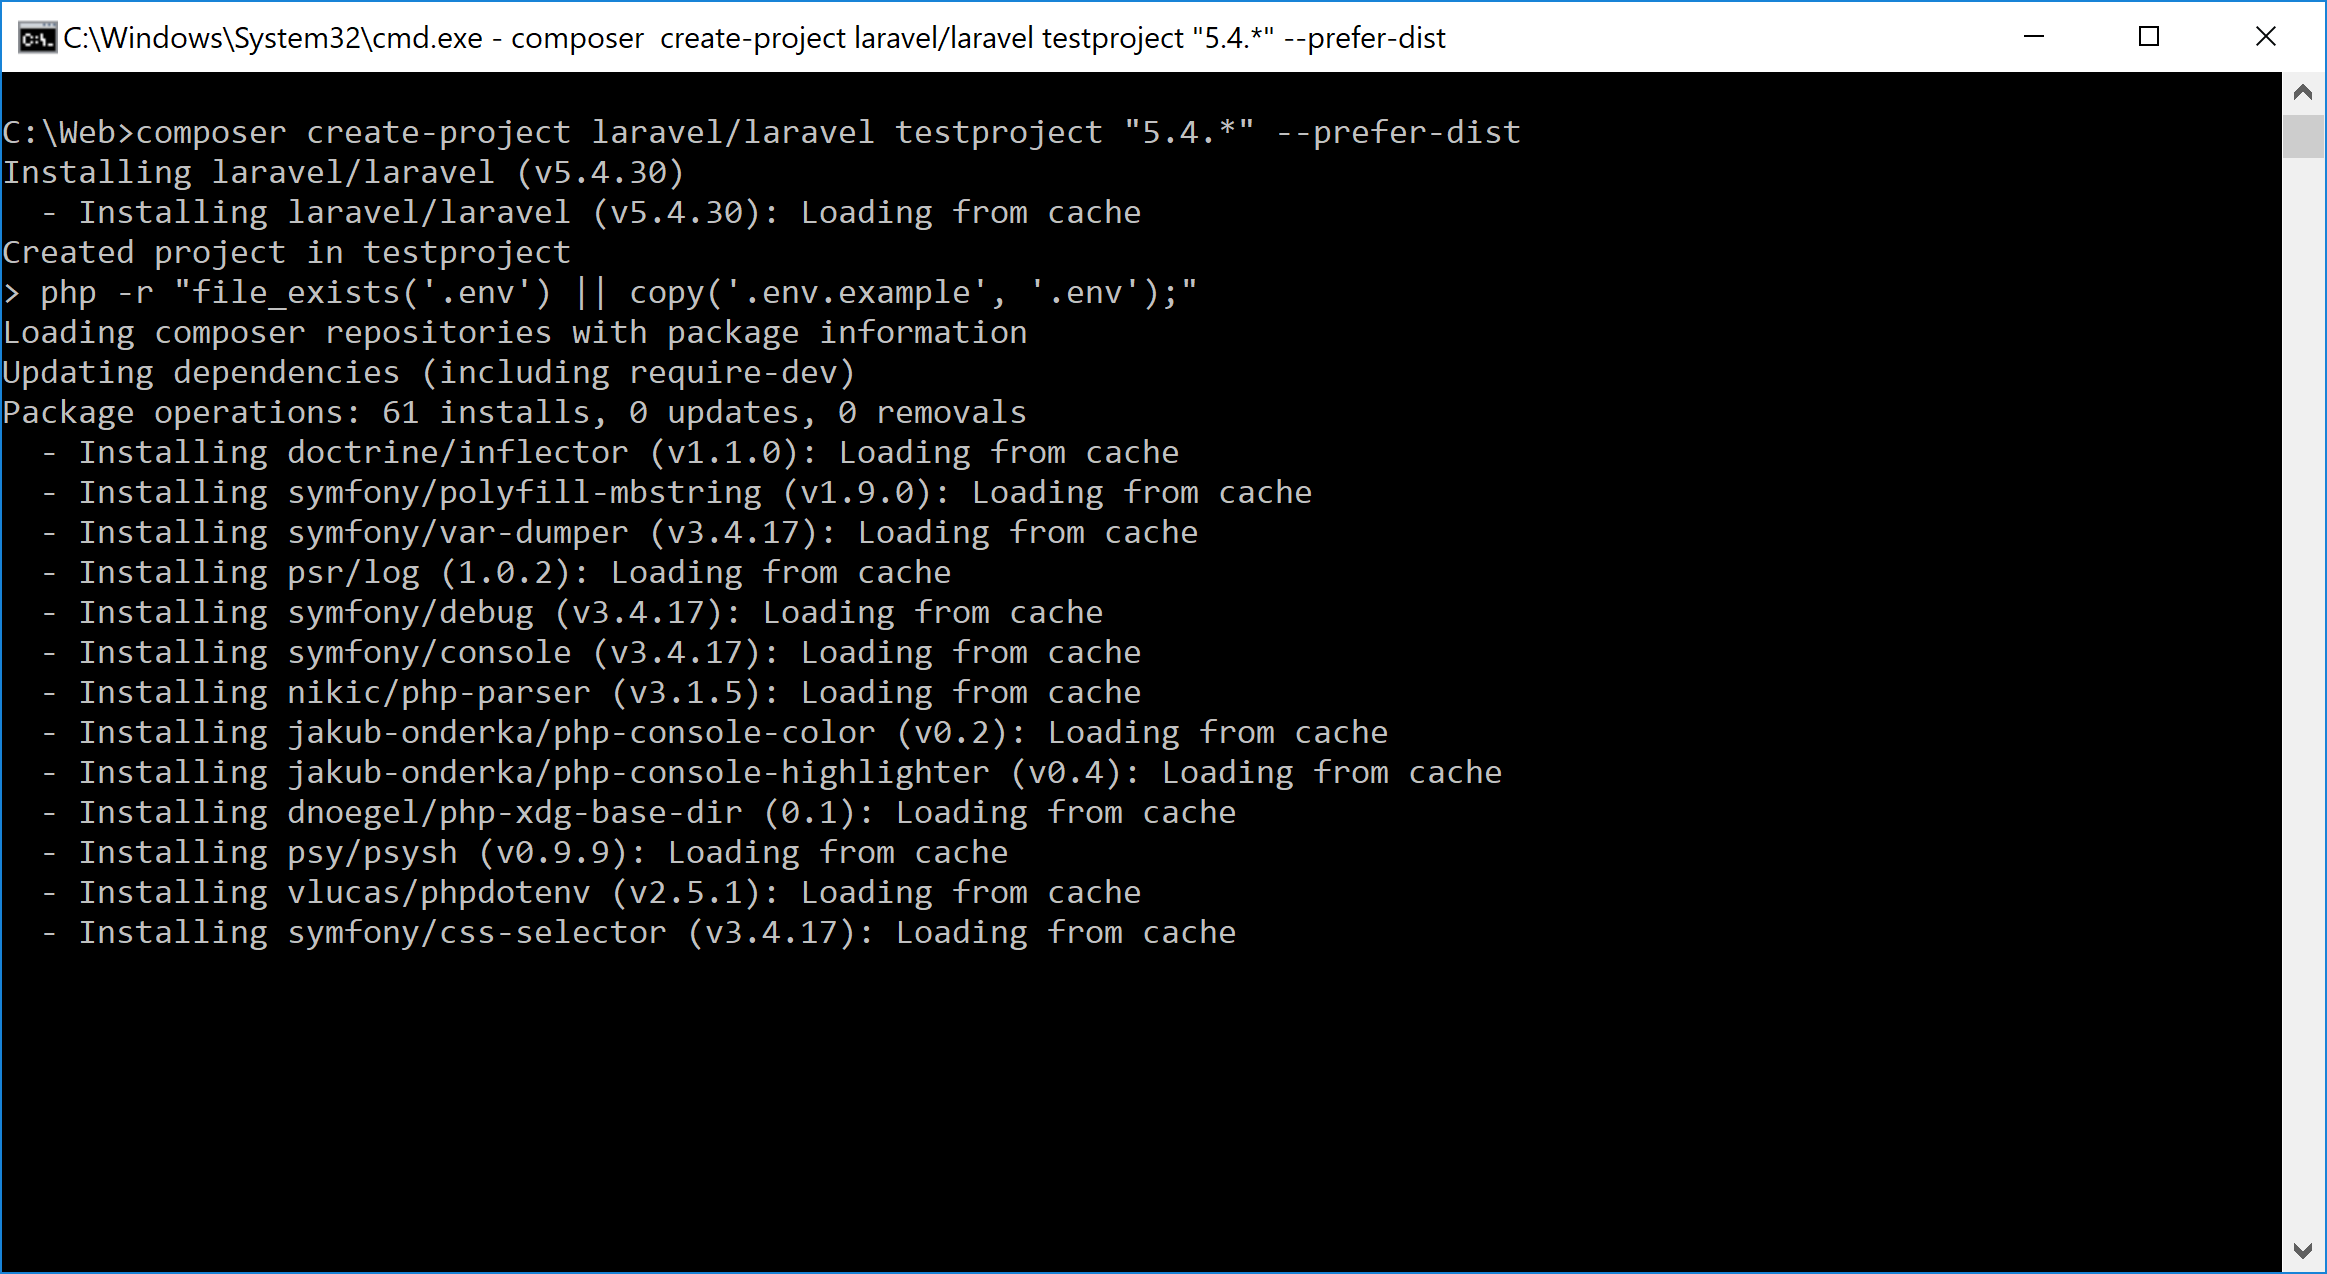
You can see that composer download Laravel project from public repository. Next we can see that all packages from Laravel project are installed.
In the final part of the installation few command will be run:
- php artisan optimize
- php artisan key:generate

This commands finish installation process of Laravel.
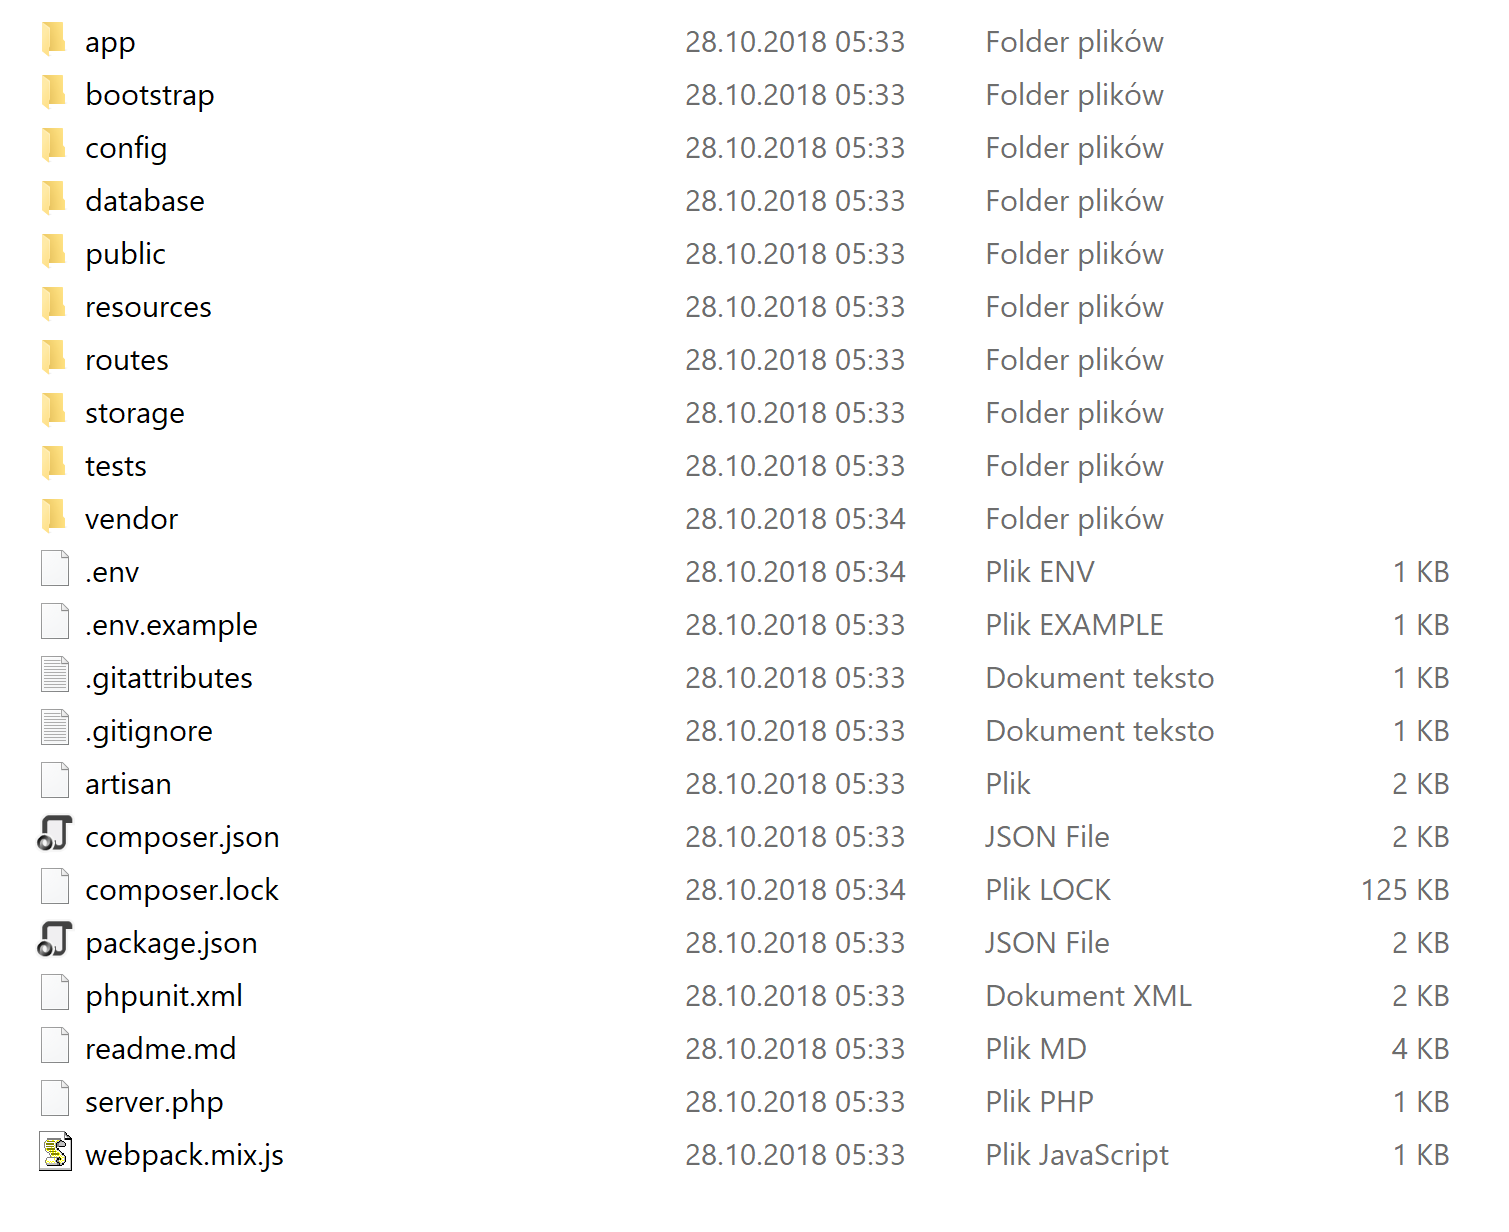
Now we can look into the the structure of the generated project:
When you start the most important file is a configuration file named: .env.
Inside the file is located basic configuration of the fresh created project:
APP_NAME=Laravel
APP_ENV=local
APP_KEY=base64:Evxyiv4jtAfnTLnilbwipCTBfFPLT6nvI8pdCLL3AQo=
APP_DEBUG=true
APP_LOG_LEVEL=debug
APP_URL=http://localhost

DB_CONNECTION=mysql
DB_HOST=127.0.0.1
DB_PORT=3306
DB_DATABASE=homestead
DB_USERNAME=homestead
DB_PASSWORD=secret

BROADCAST_DRIVER=log
CACHE_DRIVER=file
SESSION_DRIVER=file
QUEUE_DRIVER=sync

REDIS_HOST=127.0.0.1
REDIS_PASSWORD=null
REDIS_PORT=6379

MAIL_DRIVER=smtp
MAIL_HOST=smtp.mailtrap.io
MAIL_PORT=2525
MAIL_USERNAME=null
MAIL_PASSWORD=null
MAIL_ENCRYPTION=null

PUSHER_APP_ID=
PUSHER_APP_KEY=
PUSHER_APP_SECRET=
For now let’s remember that this is the place where you can define database and email connections.
Running Laravel project
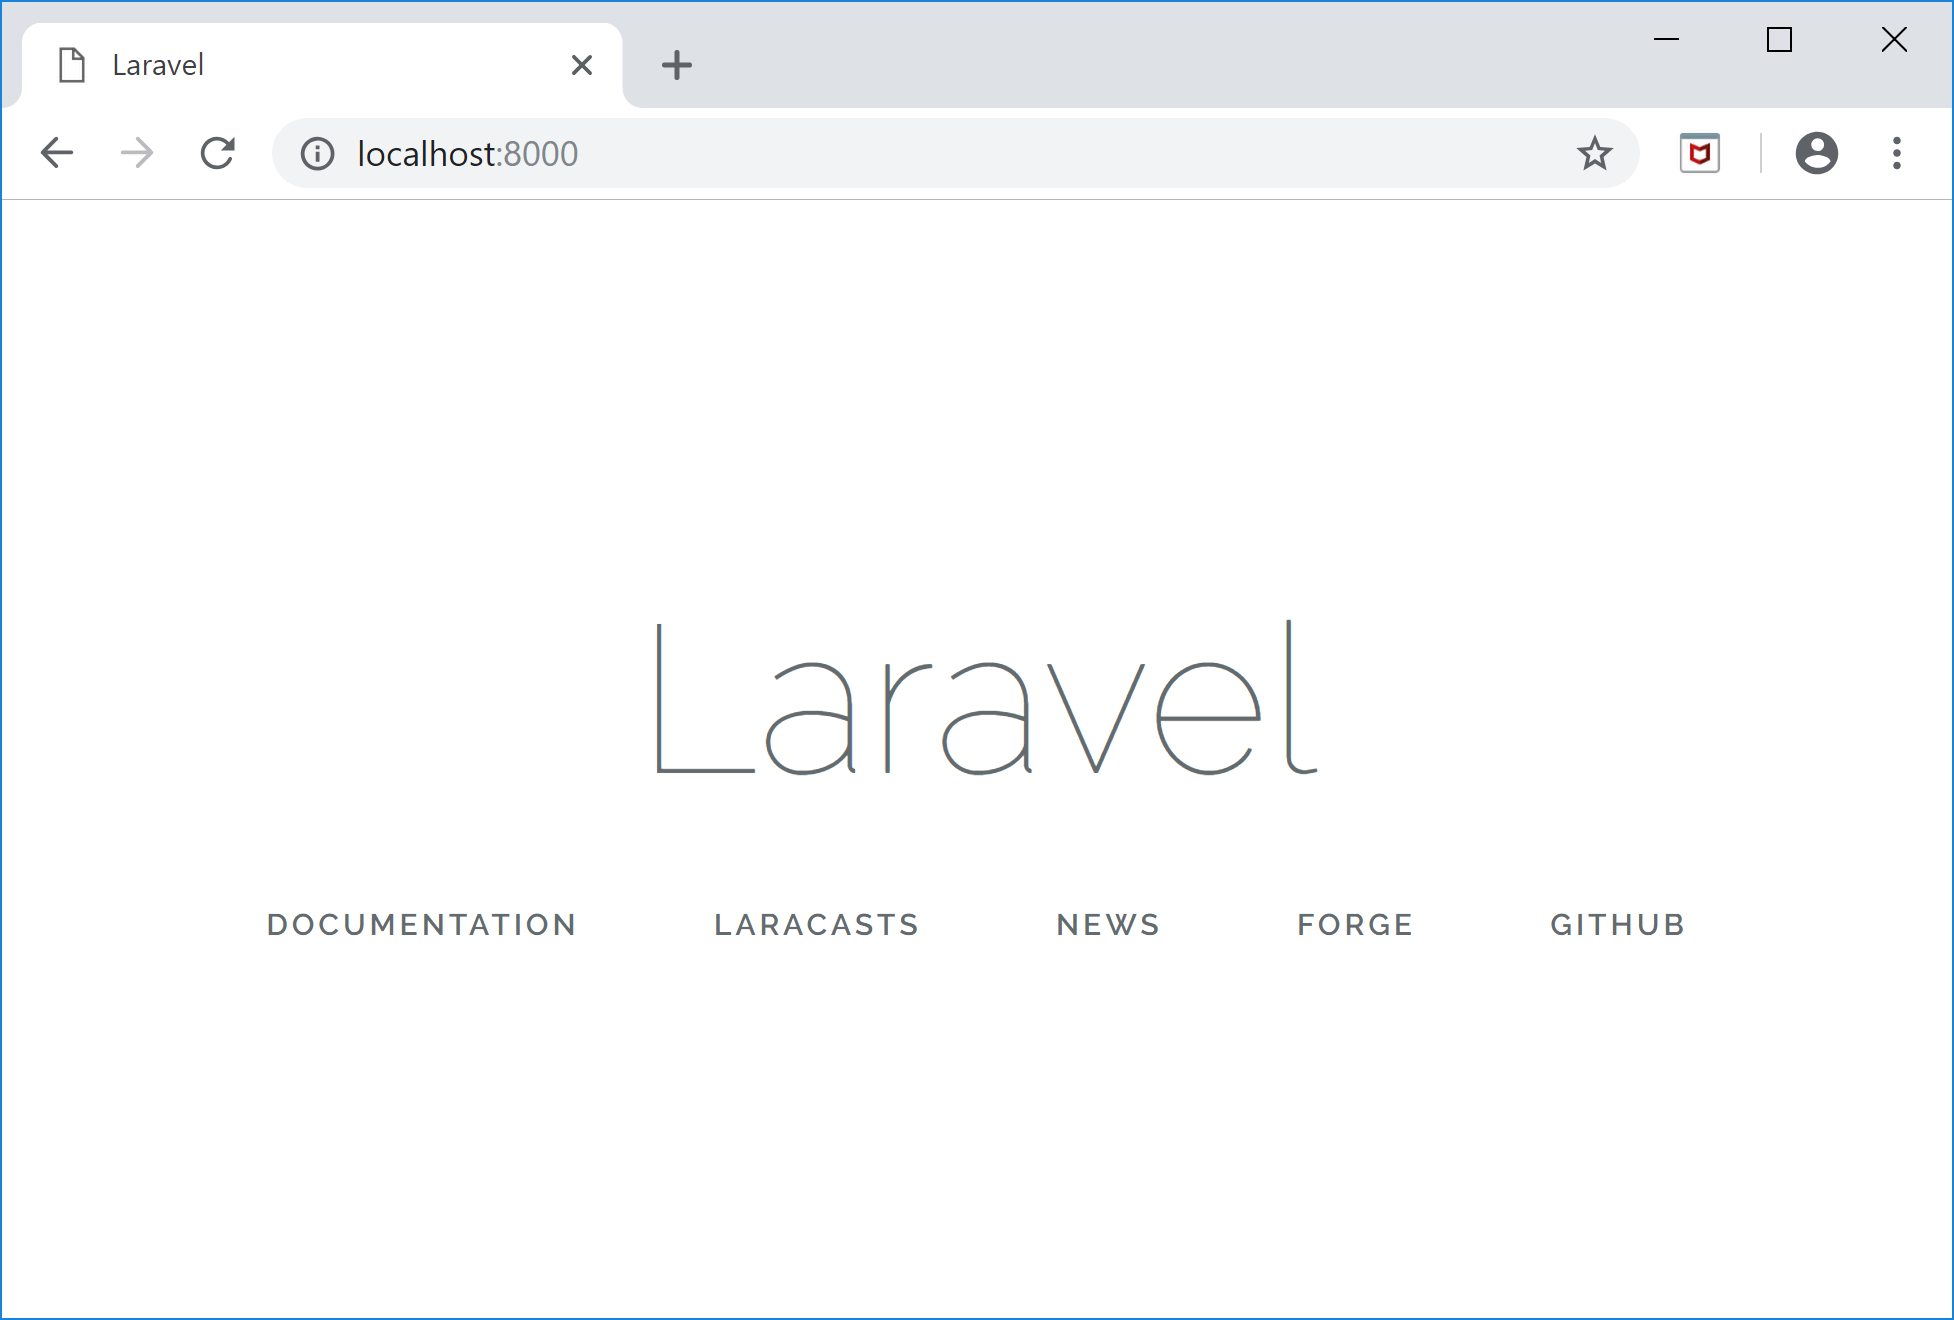
Now we are ready to run the newly created Laravel project. Let’s hit the command inside the project folder:
php artisan serve
This will start Laravel locally under the http://localhost:8000 address. The result you should see: